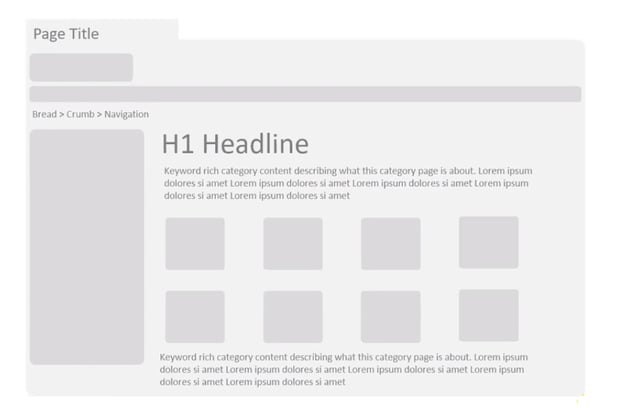
A missing <h1> tag is a missed opportunity to tell users and search engines what a page is about. If your page is missing an <h1> heading tag, it can be added with the below optimization.
Table of Contents
The Importance of an H1 Tag
Although not a required on-page SEO element, <h1> heading tags help visitors quickly and visually confirm whether the page they’re on matches their intent.
If a site visitor can quickly confirm that the page they’ve landed on has what they’re looking for, they should be more inclined to stay. This can lead to the user exploring more pages on your site, a lower bounce rate, and more conversions.
In the example below, an H1 tag would immediately tell a user what a page is about.

(H1 tags aren’t required, but do enhance the user experience.)
Search engine bots also register the H1 tag as a clue to tell them what a page is about. Therefore, a missing H1 is a missed chance to demonstrate page relevance.
How to Add an H1 Tag
Check if it’s possible to add an <h1> heading tag that concisely and accurately highlights the intent of the page.
Some content management systems allow direct editing access with the ability to turn text into certain headings (i.e. H1, H2, etc.). If your CMS can do this, this is a direct way to add an H1.
If you don’t have the ability to make the change within your CMS, the H1 can also be added directly through the site’s code.
The H1 tag is an HTML element that should be placed within the <body>. Here’s what the code may look like, as an example:
<body>
<h1>Example Heading Tag</h1>
</body>
Depending on your H1, that text would be placed between <h1> and </h1>.
If you don’t have edit access to your site’s code, the dev team should be able to help you make the change.
How to Add H1 Tags at Scale
Another approach is to leverage SEO execution platform ClarityAutomate. This way, you can add H1 tags across your site with just a few clicks.
1. Select what you'd like to optimize: Code
The first step is to select “Code” in ClarityAutomate, since that’s what’s being optimized.
2. Choose how you'd like to optimize it: Add New
As opposed to updating or deleting a site element, this fix calls for an addition to be made.
3. XPath location: XPath within the <body> where you need the <h1> tag added
This step specifies where the H1 tag will go.
4. Specific Location: Add before existing content
The H1 tag will go in front of existing page content.
5. Code: The <h1> tag with the text you want added
The last step is to drop in the applicable H1 tag and push the changes live.
Before and After
This page had an H2 tag, but no H1.
In just a few minutes, the H1 was added with ClarityAutomate. The tag gives the page more overall context so users (and search engines) can know they’re in the right place.


